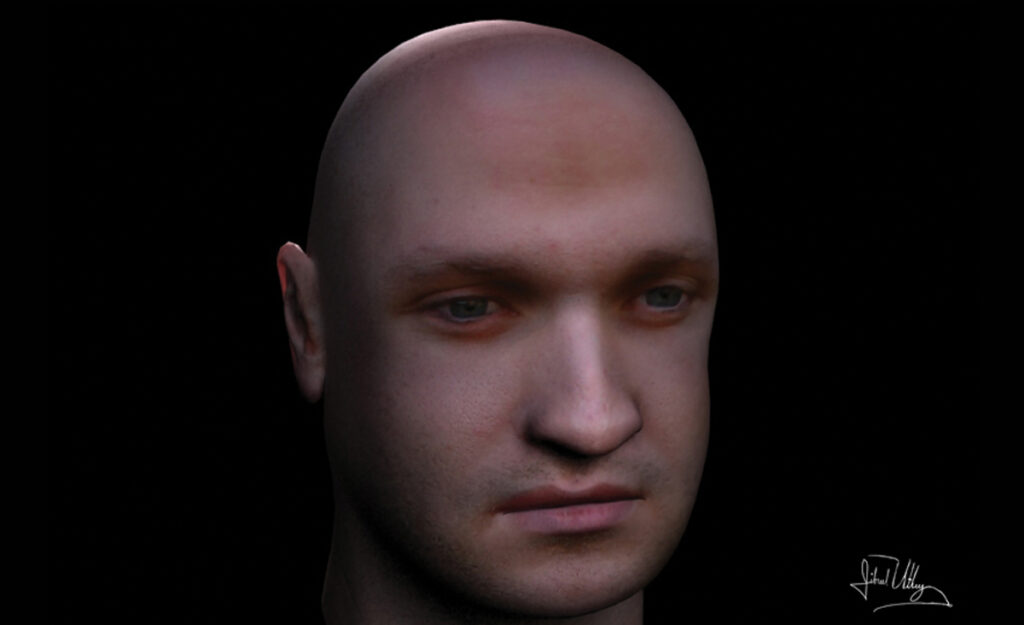
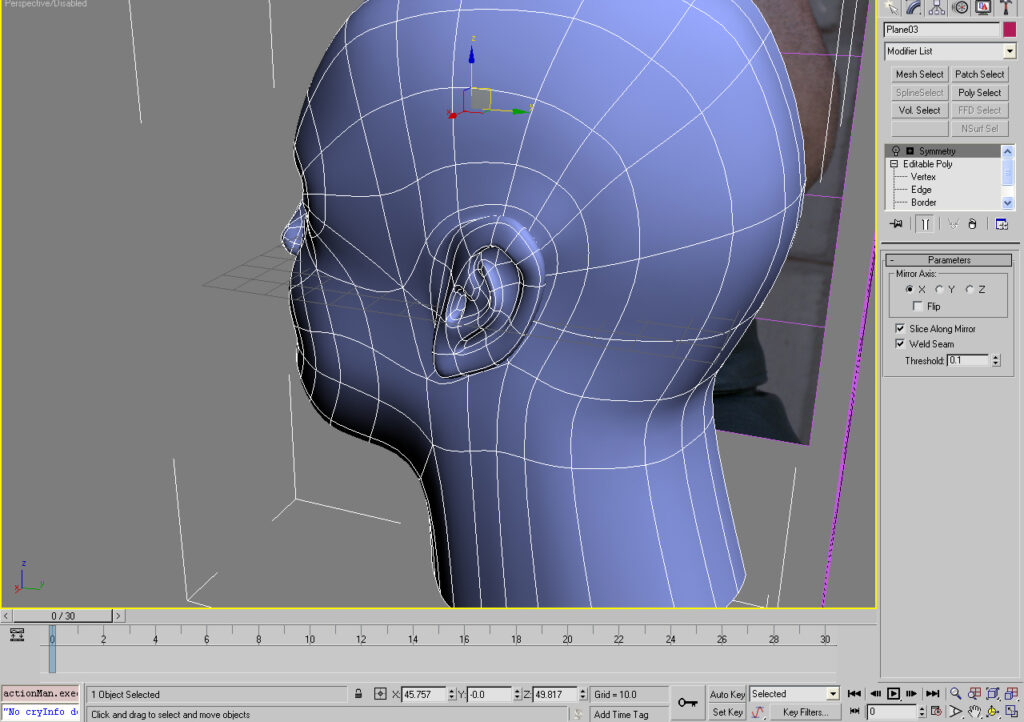
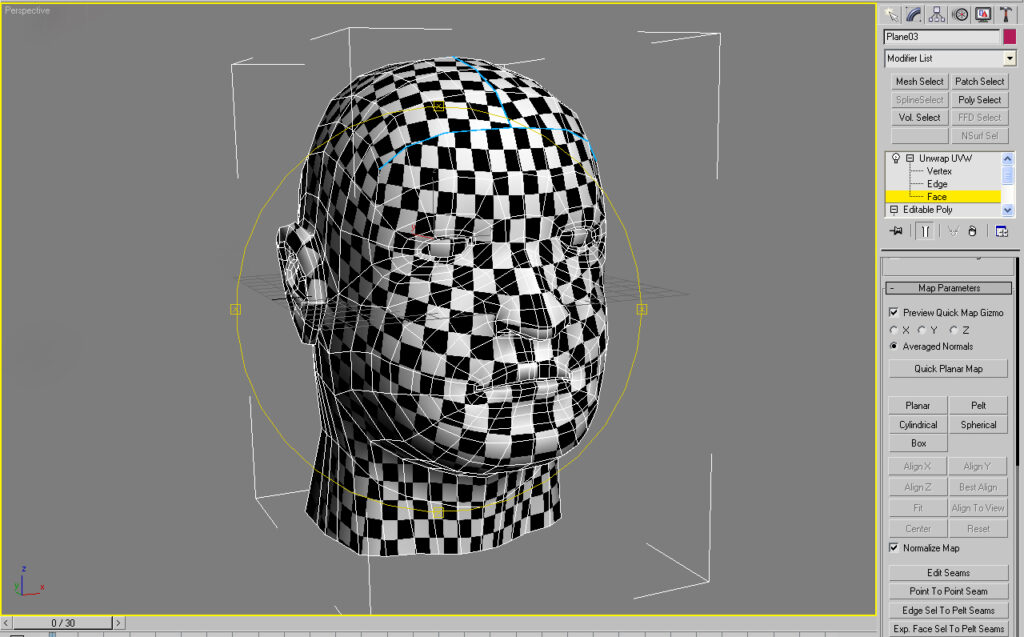

I created this head as a part of a tutorial, back when Projection painting wasn’t available to a lot of people. I used 3D Studio Max to create the model and made sure the head was made entirely of quad sided polygons. Edge loops were placed around prominent parts of the model, like the eyes , nose, ears, and mouth. I added a sub division modifier to make it smooth then Collapsed it.
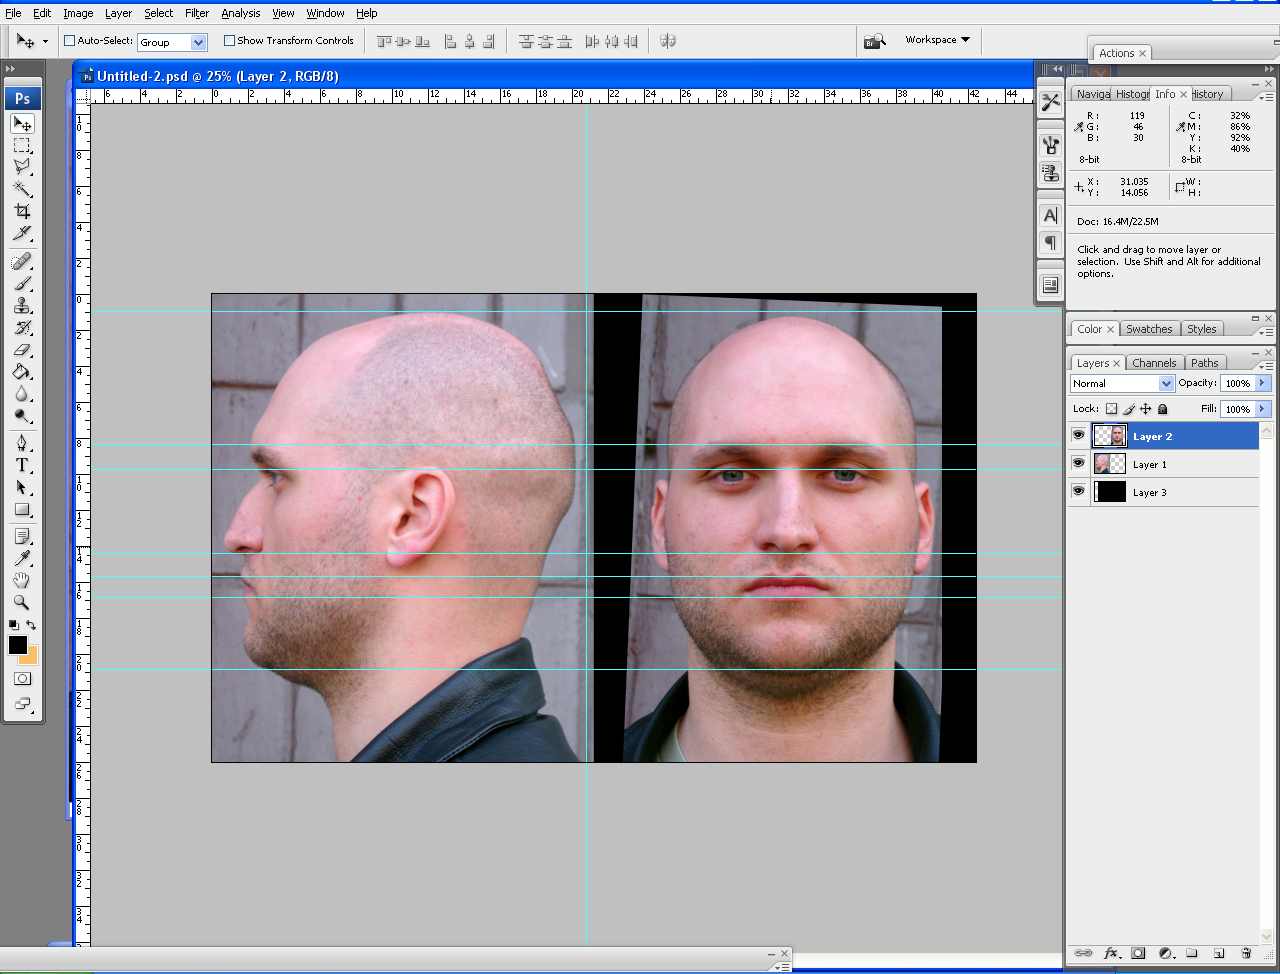
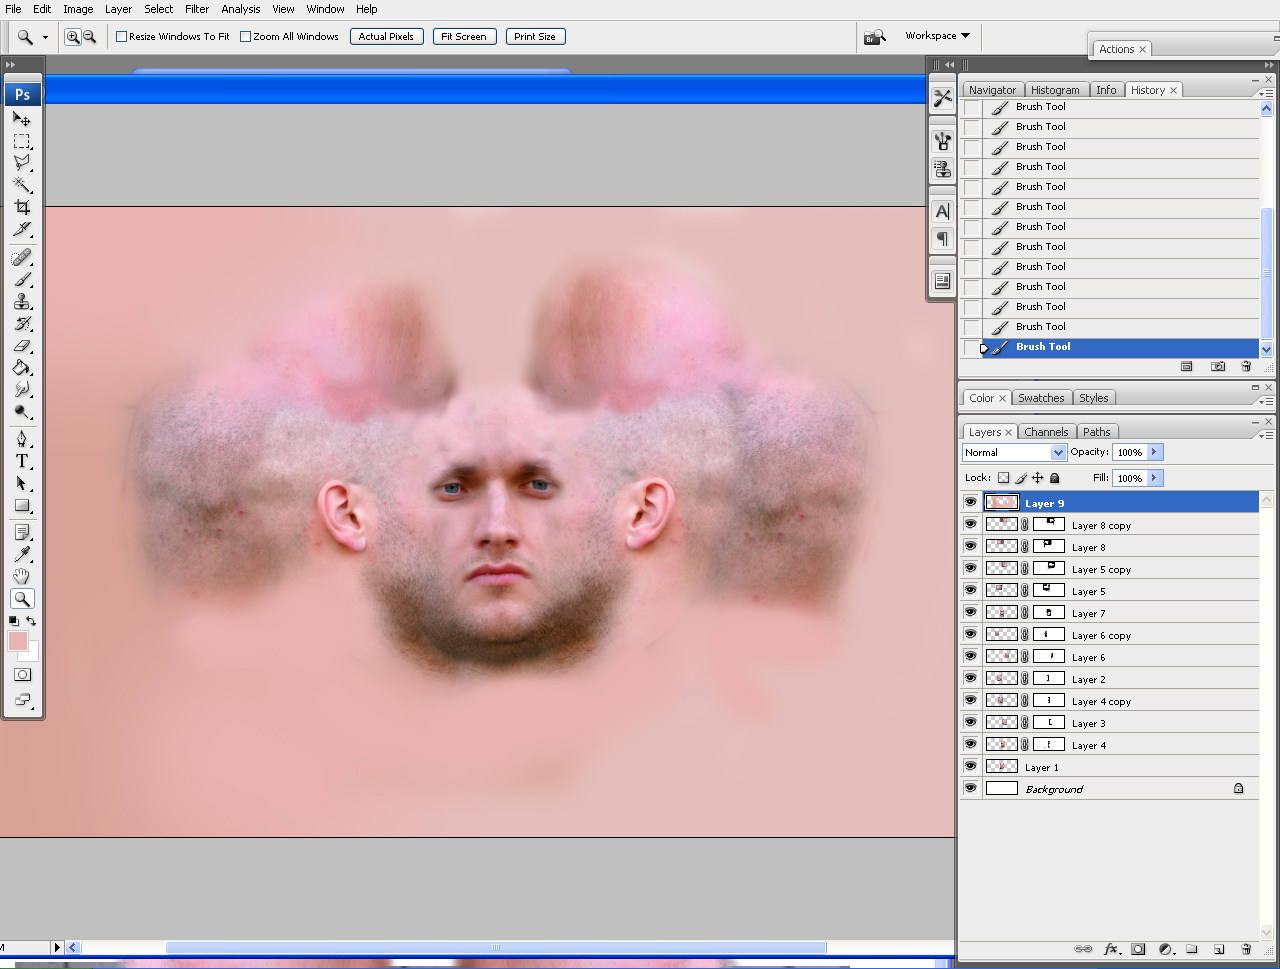
After I finish modeling the head, I unwrapped the model by using pelt seams and pelt mapping. I added a checker texture to see any distortions in my future UV map, as I prepare the UV for textures.After preparing the UV map, it was time for me to texture the model. I project the reference texture onto the model , using 3DS max and Render engine projection properties. I project the front and side reference picture on the model then went into Photoshop to tweak the texture. Then when the model was done, I added the skin texture in V Ray, to make a Sub surface scattering material , so the head would look like it has close to real skin.


Leave a Reply